How to Rig a Jig for Spider Rigging
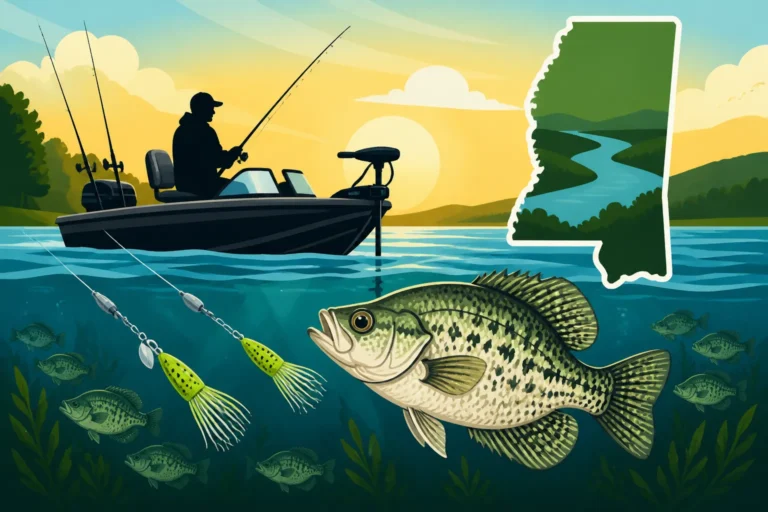
Getting your crappie spread just right can feel like a puzzle, especially when those fish are scattered across vast Mississippi reservoirs or holding tight to subtle breaks. You've got rods out, but maybe not hitting the sweet spot consistently, or you're tired of chasing individual fish when a whole school is just waiting to be found. This guide is all about simplifying that process, showing you exactly how to rig jigs for spider rigging so you can cover more water, present multiple baits, and ultimately put more crappie in your cooler.
Understanding Spider Rigging and Its Advantages
Spider rigging, sometimes affectionately called "long-lining" or "drift fishing" by the locals, is a technique that has revolutionized crappie fishing for many anglers, particularly on the big waters across Mississippi. It’s a method designed for efficiency and maximizing your chances of finding and catching crappie that might not be actively chasing or are spread out in open water or along contours.
What Exactly is Spider Rigging?
At its core, spider rigging involves using multiple fishing rods, often anywhere from four to eight or even more, all deployed simultaneously from the front of your boat. These rods are spread out like the legs of a spider, each presenting a jig or bait at a specific depth and distance from the boat as you slowly troll or drift. The idea is to create a wide net of offerings that can intercept crappie at various depths and locations as you move over potential holding areas like ledges, creek channels, or brush piles. It's a proactive approach, letting you systematically search for fish rather than waiting for them to come to you. Imagine slowly moving across a vast underwater landscape, and instead of just one or two lures in the water, you have a whole array, probing every inch. This method is incredibly effective for sampling different water columns and cover types as you glide along.
Why Spider Rigging Excels for Crappie
Spider rigging truly shines when crappie are not schooling tightly in one spot or when they are suspended at various depths due to weather changes, baitfish movements, or time of year. For instance, during the post-spawn period when crappie disperse from shallow spawning beds and move to deeper main lake structure, spider rigging allows you to systematically explore those deeper zones without guessing. Each rod can be set with a different jig color, size, or bait type, at a slightly different depth. This helps you quickly dial in on what the crappie prefer on any given day. If the crappie are biting on a chartreuse jig at 12 feet, you can then adjust several other rods to mimic that successful presentation. This technique minimizes downtime and maximizes your exposure to fish, proving incredibly valuable when you’re out on a sprawling lake like Grenada Lake or Ross Barnett Reservoir and need to cover a lot of ground to locate active fish.
Essential Gear for Your Spider Rig Setup
Having the right equipment is crucial for successful spider rigging. You don't necessarily need the most expensive gear, but selecting components that work well together will make your experience much more enjoyable and productive. From rods to reels to the tiny jig heads, each piece plays a vital role in presenting your bait effectively and feeling those often subtle crappie bites.
Rods and Rod Holders
The cornerstone of any good spider rigging setup is a collection of specialized crappie rods, typically ranging from 10 to 16 feet in length, though some anglers go even longer. These aren't your average bass rods; they are usually light to medium-light action with a sensitive tip to detect even the slightest tap, yet possess enough backbone to handle a good-sized crappie. The extra length allows you to spread out your lines, preventing tangles and covering a wider swath of water. Look for rods designed specifically for crappie trolling or long-lining. When it comes to rod holders, quality is paramount. You'll need sturdy, adjustable rod holders that can securely hold multiple rods and withstand the constant vibrations and occasional powerful strike of a fish. Brands like Driftmaster, Hi-Tek, or Tite-Lok are popular choices, offering robust designs that clamp onto your boat. You can find a wide variety of these specialized holders on platforms like Amazon, making it easy to outfit your boat.
Consider the layout of your boat and how you want to position your rods. Some anglers prefer a "Christmas tree" setup at the bow, while others spread holders along the gunwales. The key is to ensure easy access to each rod when a fish bites, and to maintain sufficient spacing between lines to avoid frustrating tangles, especially when making turns or dealing with currents. A good rod holder setup allows you to keep an eye on all your rod tips, watching for that tell-tale twitch or bend that signals a crappie has found your offering.
Reels and Line Choices
For spider rigging, most anglers opt for small, lightweight spinning reels (around a 1000 or 2000 series) or even push-button spincast reels, which are easy to operate with one hand when you're managing multiple lines. The retrieve speed isn't as critical as for active casting, but a smooth drag is always a plus.
When it comes to fishing line, a common choice is 6 to 10-pound monofilament or fluorocarbon. Monofilament offers good stretch, which can act as a shock absorber against sudden crappie surges, and it’s relatively inexpensive. Fluorocarbon, on the other hand, is nearly invisible underwater and has less stretch, providing more sensitivity. Some experienced anglers prefer a braided main line (e.g., 10-20 lb test) for its incredible sensitivity and zero stretch, often pairing it with a fluorocarbon leader (6-8 lb test) for stealth. This combination gives you the best of both worlds: the sensitivity to feel subtle bites and the invisibility needed in clear water conditions. Remember, you're not usually casting long distances, so capacity isn't as crucial as smooth line flow and durability. Having fresh line on your reels is always a good practice, especially if you’re fishing around submerged timber or brush where nicks can occur.
The Right Jigs and Baits
The heart of spider rigging lies in the jig or bait you present. Most spider riggers use small jig heads, typically ranging from 1/16 oz to 1/4 oz, depending on depth, current, and desired trolling speed. Lighter jigs are great for slower speeds and shallower water, while heavier jigs help keep your bait down in deeper water or stronger currents. Jig heads come in various colors, and having an assortment is wise. Chartreuse, pink, white, and black are perennial crappie favorites. The hook size on the jig head usually ranges from a #4 to a #1, chosen to match the size of your soft plastic or live minnow.
For artificial baits, small plastic grubs, tubes, and "crappie magnets" in sizes from 1 to 2 inches are incredibly popular. Experiment with different colors and tail actions until you find what the fish are keying on. Live minnows are also an absolute crappie killer, and many anglers will rig jigs with a minnow either as a standalone offering or in combination with a soft plastic. Using live minnows on a jig is especially effective when crappie are finicky or during colder months when they prefer a more natural, subtle presentation. You can often find great deals on assorted jig heads and soft plastic kits on Amazon, which is a fantastic way to build up your tackle box for various fishing scenarios. For more insights on this, check out our guide on the best bait for crappie in Mississippi.
Step-by-Step Guide to Rigging Your Jigs for Spider Rigging
Once you have your gear, the next step is to master the rigging itself. There are several effective ways to rig your jigs for spider rigging, each suited for different conditions or angler preferences. The goal is always to present your baits naturally and efficiently, maximizing your chances of a bite.
The Basic Tandem Jig Rig
The tandem jig rig is arguably the most popular and versatile setup for spider rigging. It allows you to present two different jigs at slightly different depths on the same line, effectively doubling your chances and helping you pinpoint the crappie's preferred depth.
Here’s how to tie a basic tandem jig rig:
- Tie the Bottom Jig: Start by tying your heaviest jig head (e.g., a 1/8 oz or 1/4 oz) to the very end of your main line using a strong knot like a Palomar knot or an improved clinch knot. This jig acts as your main weight and keeps the line running straight.
- Add the Top Jig: Measure up about 12 to 24 inches (or even more, depending on desired separation) from your bottom jig. At this point, you'll create a dropper loop or tie a second, lighter jig directly to the main line.
- Dropper Loop Method: To create a dropper loop, simply form a small loop in the line, twist it several times, and then pass one end of the loop through the center of the twist before tightening. You'll then tie your second, lighter jig (e.g., 1/16 oz or 1/8 oz) onto this loop using a loop knot or by threading the line through the jig eye and tying a secure knot. The dropper loop allows the jig to swing freely, giving it a more natural action.
- Direct Tie Method: Alternatively, you can tie a piece of lighter monofilament or fluorocarbon (say, 8-12 inches long) directly to the main line using a triple surgeon's knot or a double uni knot, creating a small tag end. Then, tie your second, lighter jig to the end of this tag line. This is often called a "crappie rig" or "double jig rig."
- Attach Soft Plastics or Minnows: Once your jigs are tied, thread your chosen soft plastic bait onto each jig head. If using live minnows, hook them lightly through the lips or just behind the dorsal fin to keep them lively.
This setup is fantastic because it allows you to quickly experiment with different jig colors or bait combinations. For example, you might have a chartreuse grub on the bottom jig and a pearl white tube on the top, helping you figure out which color is more enticing to the crappie that day.
Jig and Minnow Combination Rig
Sometimes, crappie just want a live minnow, but you still want the allure and profile of an artificial jig. The jig and minnow combination rig is a perfect compromise, offering the best of both worlds.
To create this effective rig:
- Choose Your Jig Head: Select a jig head, typically a 1/16 oz to 1/8 oz, that you would normally use for crappie. The color of the jig head can add an additional attractant, even with a minnow on it.
- Hook the Minnow: Gently hook a lively minnow through the lips, or just behind the dorsal fin, ensuring the hook point is exposed and the minnow can swim naturally. The jig head will be attached to your main line.
- Consider a Swivel/Leader: For added versatility and to prevent line twist, some anglers will tie a small barrel swivel to their main line, then attach a 12-24 inch fluorocarbon leader (e.g., 6 lb test) to the other end of the swivel. The jig with the minnow is then tied to the end of this leader. This leader offers a bit more invisibility and can protect your main line from nicks.
This combination rig often produces strikes when artificials alone might not. The natural movement and scent of the live minnow, paired with the color and profile of the jig, creates an irresistible offering for finicky crappie. It's an excellent choice for fishing during colder water temperatures or when the crappie bite is slow, as the minnow provides a consistent attraction even when moving slowly.
Advanced Spider Rigging Variations
Beyond the basic tandem and combination rigs, there are several advanced variations that can be employed depending on the conditions you face out on the water. These setups allow for even greater customization and can be incredibly effective when dealing with specific challenges like deep water, heavy current, or extra-finicky fish.
One common modification is adding a slip sinker above your jig(s). This is particularly useful when fishing in very deep water or strong currents, such as the Mississippi River, where you need to get your baits down quickly and keep them there. A 1/2 oz or even 1 oz slip sinker can be threaded onto your main line above a swivel, with a leader (12-36 inches) tied from the swivel to your jig. This creates a "Carolina rig" style setup for crappie, allowing your jig to move more freely on the bottom while the sinker maintains depth.
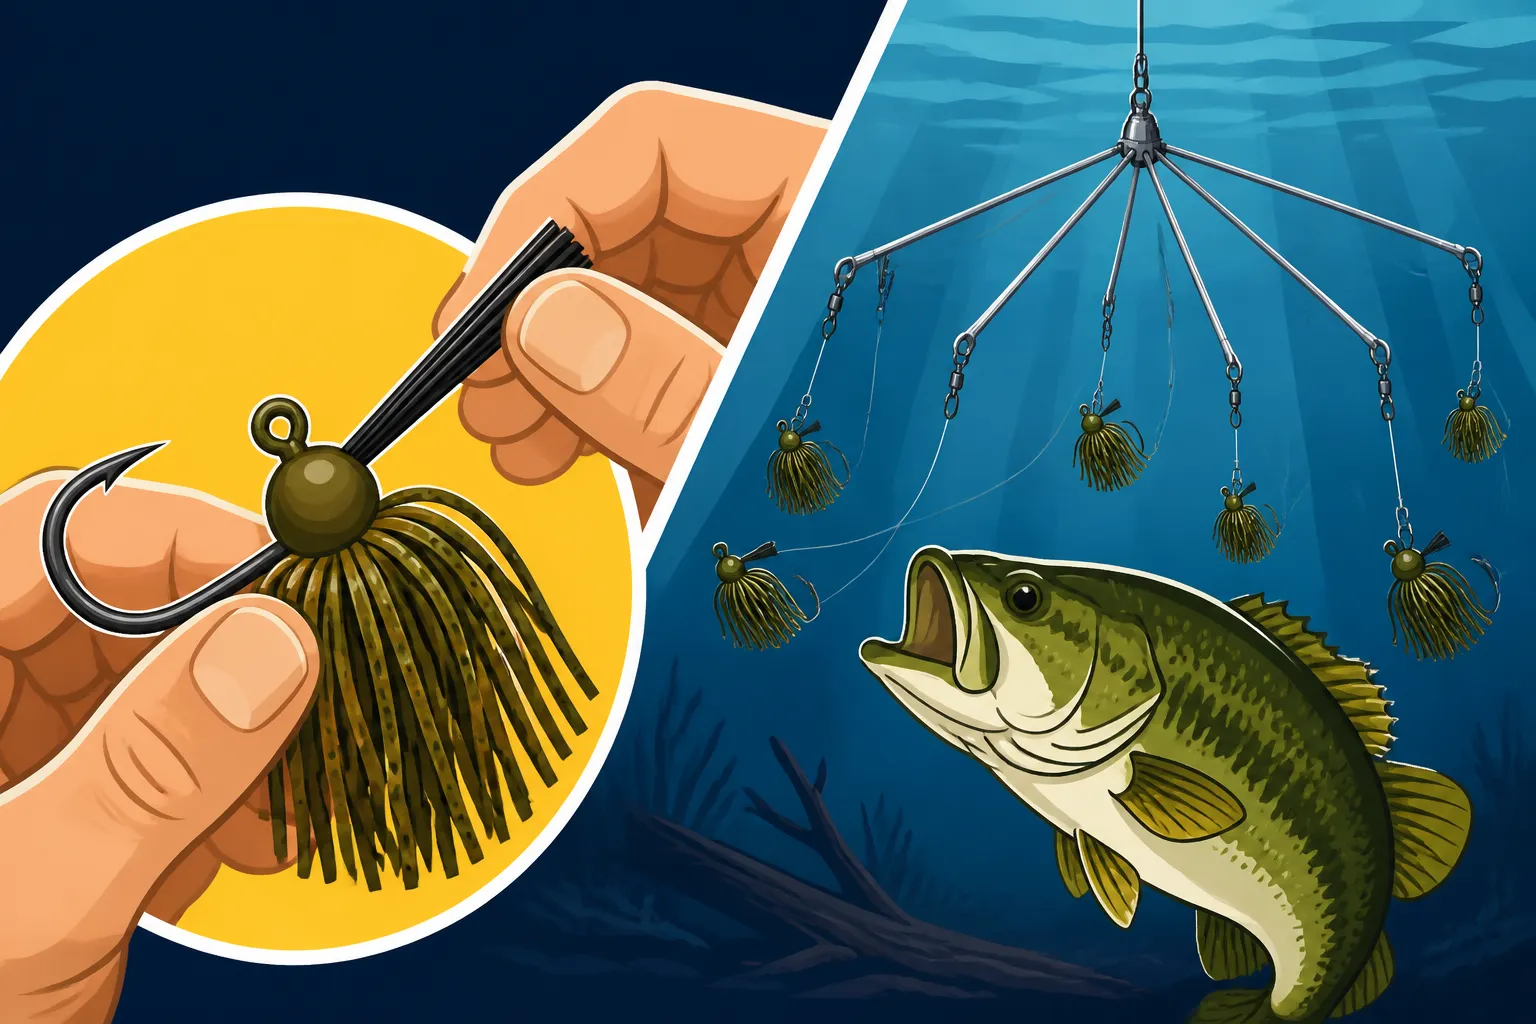
Another approach is using multi-hook rigs with specialized spreader bars or wire arms. These allow you to deploy three or more baits from a single rod, each spaced out to avoid tangles and cover an even wider water column. While more complex to set up, they can be incredibly efficient in situations where crappie are suspended in a broad band of water. You might use tiny crappie jigs on each arm, or a combination of jigs and bare hooks for live minnows. These specialized rigs are less common for beginners but demonstrate the endless possibilities within spider rigging. Learning about Mississippi Crappie Regulations by Lake can help you understand how many hooks are permitted on a single line in specific bodies of water.
No matter the variation, the principle remains the same: presenting multiple baits effectively and covering water systematically. Experiment with these different setups to discover what works best for the particular crappie you're chasing in Mississippi's diverse waters.
Techniques for Effective Spider Rigging in Mississippi
Rigging your jigs is only half the battle; knowing how to effectively deploy and manage your spider rig spread is what truly sets successful anglers apart. It involves a careful balance of boat control, depth management, and keen observation.
Optimal Speed and Depth Control
One of the most critical aspects of successful spider rigging is maintaining the optimal trolling speed. This speed is usually very slow, often between 0.2 to 1.0 miles per hour, depending on water temperature, current, and fish activity. You can achieve this using your boat's trolling motor, whether it's an electric bow-mount motor or a small kicker motor. Modern trolling motors with GPS features, like those from Minn Kota or Motorguide, are invaluable for maintaining a consistent speed and direction, even against wind or current. For instance, on a calm day on Sardis Lake, you might barely creep along at 0.3 mph, letting your baits just wobble. But on a windy day, or if crappie are more aggressive, you might need to bump it up to 0.7 mph.
Depth control is equally vital. Crappie often suspend at very specific depths. Your boat's sonar or fish finder is your best friend here. Use it to identify baitfish schools, crappie marks, and underwater structure. Once you see fish at, say, 15 feet over a 25-foot channel, adjust your rod lengths and jig weights to ensure your baits are presented right in that strike zone. The general rule of thumb is that the more line you let out, the deeper your jig will run, but heavier jigs will also sink faster. Don't be afraid to experiment with different depths across your spread until you start getting bites. This kind of systematic approach is how you effectively find the pattern for the day. For further details on how to read your fish finder, consider our guide on Reading a Fish Finder for Crappie.
Interpreting Rod Bends and Bites
With multiple rods out, keeping track of every tip can seem daunting, but it's a skill you quickly develop. Crappie bites, especially on a slow troll, can be incredibly subtle. You might not get a violent tug; instead, look for a slight twitch or a gentle bend in the rod tip that wasn't there before. Sometimes, the rod tip might just stop vibrating or dip slightly. This could indicate a fish has picked up your bait or that your jig is bumping into structure.
When you see a bite, react quickly but smoothly. Grab the rod, reel down to take up slack, and make a gentle but firm sweep to set the hook. Avoid yanking aggressively, as crappie have soft mouths, and you can easily tear the hook out. With multiple lines deployed, managing a hooked fish also requires some finesse to avoid tangling with other lines. Many anglers will quickly reel in a few other nearby rods to create a clear path for landing the fish. This is where quality rod holders come in, allowing you to quickly remove and replace rods as needed. A good tip is to look for a pattern in which rods are getting bites – perhaps the ones closer to the boat, or those further out, or at a specific depth. This helps you refine your strategy.
Navigating Structure and Cover
Mississippi's lakes and rivers are rich with underwater structure and cover that crappie absolutely love, from flooded timber and brush piles to submerged creek channels and sharp ledges. Spider rigging through these areas can be incredibly productive, but it also comes with the risk of snags.
When approaching a known brush pile or ledge, use your depth finder to get a clear picture of the topography. You might want to temporarily shorten the lines on the rods closest to the structure to prevent immediate snags. Often, crappie will hold just off the main structure, so presenting your baits along the edges or slightly above the top of a brush pile is a great strategy. If you do get snagged, resist the urge to violently pull. Often, backing the boat up directly over the snag or using a plug knocker can help free your jig. On occasions, you might need to sacrifice a jig, but having extra pre-tied rigs readily available can get you back in the water quickly. Knowing the specific features of popular spots like the Ross Barnett Reservoir Fishing Guide or Grenada Lake Fishing Guide can give you a major advantage. Successfully navigating these intricate underwater landscapes with a spider rig allows you to access prime crappie habitat that might be missed with other techniques.
| Jig Head Weight | Typical Depth Range (Slow Troll) | Best Use Case | Common Crappie Sizes | Notes |
|---|---|---|---|---|
| 1/32 oz | 2-8 feet | Very shallow, calm water, super slow retrieve | Small to Medium | Lightest, slowest sink rate. |
| 1/16 oz | 5-15 feet | Standard shallow to medium depth, popular all-rounder | All sizes | Excellent for light bites. |
| 1/8 oz | 10-25 feet | Deeper water, moderate current, faster troll | Medium to Large | Good for getting down quickly. |
| 1/4 oz | 20-40+ feet | Deepest water, strong current, faster troll | Large to XL | Helps maintain depth in challenging conditions. |
| 1/2 oz+ | 30-50+ feet (often with leader) | Extreme depth, strong river current (e.g., Mississippi River) | Large to XL | Often used with a slip sinker or Carolina rig style. |
Please remember that these are general guidelines. Actual running depth will vary significantly based on your line type, trolling speed, and current conditions. Always use your electronics to confirm your jig's depth relative to the fish.
Disclaimer
Fishing conditions and regulations in Mississippi can change. Always consult the latest Mississippi Department of Wildlife, Fisheries, and Parks (MDWFP) regulations before heading out. This guide is for informational purposes only and does not supersede official state regulations.