How to Fillet a Crappie
So, you’ve had a fantastic day out on a Mississippi lake, the cooler’s full of beautiful crappie, and now comes the moment of truth: cleaning them. For many anglers, especially those new to crappie, filleting these smaller, delicate fish can feel daunting, even frustrating, after a long day on the water. This guide is here to walk you through how to fillet a crappie, step-by-simple-step, so you can enjoy those delicious, boneless fillets with ease.
The Crappie Filleting Challenge: Why It Feels Tricky
Let's be real: filleting a crappie isn't like filleting a big catfish. Those larger fish offer plenty of real estate for your knife, making the process feel a bit more straightforward. Crappie, however, present their own unique set of considerations that can make even seasoned anglers pause. But don't despair! Understanding these challenges is the first step to conquering them.
Their Delicate Nature and Small Size
Crappie are known for their flaky, tender white meat, which is part of what makes them so desirable on the dinner plate. However, that delicate flesh also means you need a gentle touch when handling them. Their scales are relatively fine, and their skin is thin, requiring precision cuts rather than brute force. Furthermore, many crappie caught in Mississippi lakes, while perfect for eating, aren't massive fish. The average size often means less margin for error with your knife, demanding more focus to get a good, meat-filled fillet. It's a common frustration to feel like you're losing too much meat if you're not careful, which can be disheartening after a successful day of crappie fishing.
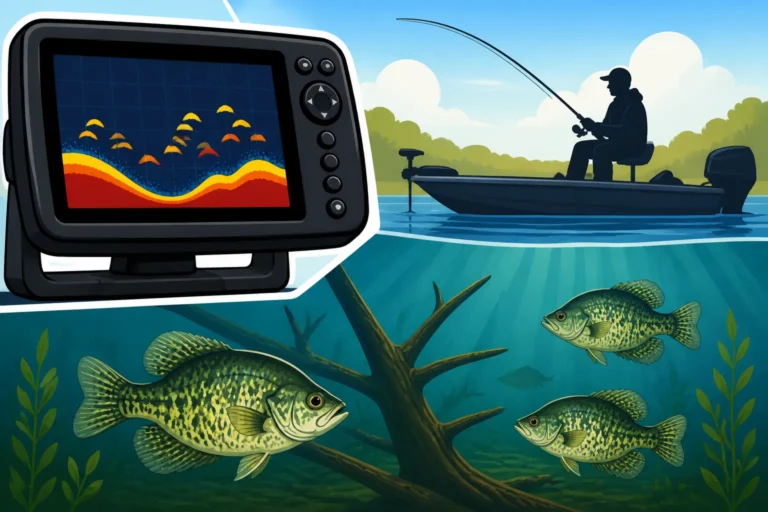
Imagine you've just brought home a cooler full of beautiful white crappie from Sardis Lake or black crappie from Grenada Lake. You're excited for a fish fry, but as you pick up that first 10-inch fish, you might think, "Where do I even start?" That's perfectly normal. The key is to acknowledge that these smaller fish require a different approach than, say, a huge bass. You're aiming for finesse, not power, and patience will truly pay off here. Don't rush it, especially when you're first learning the ropes.
The Bone Structure Myth (and Reality)
One of the biggest concerns people often have with crappie is their perceived "boniness." It's true that crappie have a relatively complex bone structure compared to some other fish, and getting all the bones out for a truly boneless fillet can seem like a daunting task. The small rib cage can be particularly tricky to navigate, leading to either leaving bones in or sacrificing precious meat around them. This is often where anglers get frustrated and might even opt to just scale and gut the fish, cooking it whole instead of filleting.
However, the "boniness" is less a myth and more a challenge that can be overcome with the right technique. The goal isn't necessarily to avoid the bones entirely, but to know how to cut around them efficiently. Once you master the technique for separating the fillet from the backbone and then skillfully removing the rib cage, you’ll find that those delicious slabs of white meat are surprisingly easy to achieve. This guide will specifically address how to navigate those tricky areas to maximize your yield and minimize the bones in your final product.
Essential Tools for a Perfect Crappie Fillet
Just like any skilled trade, having the right tools makes all the difference when it comes to filleting fish. You don't need a professional chef's arsenal, but investing in a few key items will elevate your filleting game and make the process much more enjoyable and efficient. Skipping out on proper equipment is a common beginner's mistake that can lead to frustration and wasted fish.
The Right Fillet Knife Makes All the Difference
When you're filleting crappie, your knife is your most important companion. A good fillet knife isn't just sharp; it's designed specifically for the task. You'll want a knife with a thin, flexible blade, typically ranging from 6 to 9 inches in length. For crappie, a 6-inch blade often offers the best control due to their smaller size. The flexibility allows the blade to bend and conform to the fish's bone structure, getting into those tight spots and separating meat from bone with precision. A stiff, thick blade will fight you every step of the way, making clean cuts almost impossible.
Look for a knife made from high-quality stainless steel that holds an edge well. Brands like Dexter-Russell or Rapala are popular among anglers for their reliability and sharpness right out of the box. You can often find a great selection of these on Amazon or at your local sporting goods store. Remember, a dull knife is not only inefficient but also dangerous. Always keep your fillet knife razor-sharp – a good sharpening steel or stone is a must-have accessory. There's nothing worse than trying to saw through delicate fish meat with a dull blade, tearing it instead of slicing it cleanly.
Work Surface, Gloves, and Other Helpers
Beyond the knife, a few other items will make your filleting experience safer and more hygienic. A sturdy, non-slip cutting board is absolutely essential. Plastic or composite boards are ideal as they are easy to clean and sanitize, preventing cross-contamination. Many anglers prefer boards with a built-in clamp to hold the fish's tail, which provides extra stability, especially with slippery fish. Imagine trying to make precise cuts on a fish that's sliding all over the counter – it's a recipe for frustration and potential injury.
Consider wearing a cut-resistant glove on your non-dominant hand. This small investment can save you a trip to the emergency room, as fillet knives are incredibly sharp. A pair of rubber gloves underneath can also help with grip and cleanliness. Finally, have a bowl or bucket ready for the discarded heads, guts, and bones, and another bowl with ice water for your freshly cut fillets. This keeps your workspace tidy and ensures your precious fillets stay cold and fresh before storage.
Here's a quick checklist of essential filleting tools:
| Item | Description | Why it's Important |
|---|---|---|
| Flexible Fillet Knife | 6-9 inch blade, thin, sharp, flexible | Precision cuts, follows bone contours, maximizes meat yield. |
| Sharpening Tool | Whetstone, pull-through sharpener, or steel | Keeps blade razor-sharp for clean cuts and safety. |
| Non-Slip Cutting Board | Plastic or composite, ideally with fish clamp | Provides stable work surface, easy to clean, prevents fish from sliding. |
| Cut-Resistant Glove | For non-dominant hand (holding the fish) | Essential safety measure to prevent accidental cuts. |
| Large Bowl/Bucket | For scraps (heads, bones, guts) | Keeps workspace tidy, simplifies disposal. |
| Ice Water Bowl | For holding fresh fillets immediately after cutting | Stops bacterial growth, keeps fillets firm and fresh. |
| Paper Towels/Rags | For wiping hands and blade | Maintains hygiene, improves grip, keeps blade clean for better cuts. |
Step-by-Step: How to Fillet a Crappie Like a Pro
Now for the main event! While it might seem intimidating at first, filleting a crappie is a process that becomes second nature with practice. We're going to break it down into manageable steps, focusing on precision and technique to get those beautiful, boneless fillets every time. Remember to take your time, especially when you're new to this. Rushing often leads to mistakes and wasted meat.
The Initial Head Cut and Dorsal Slice
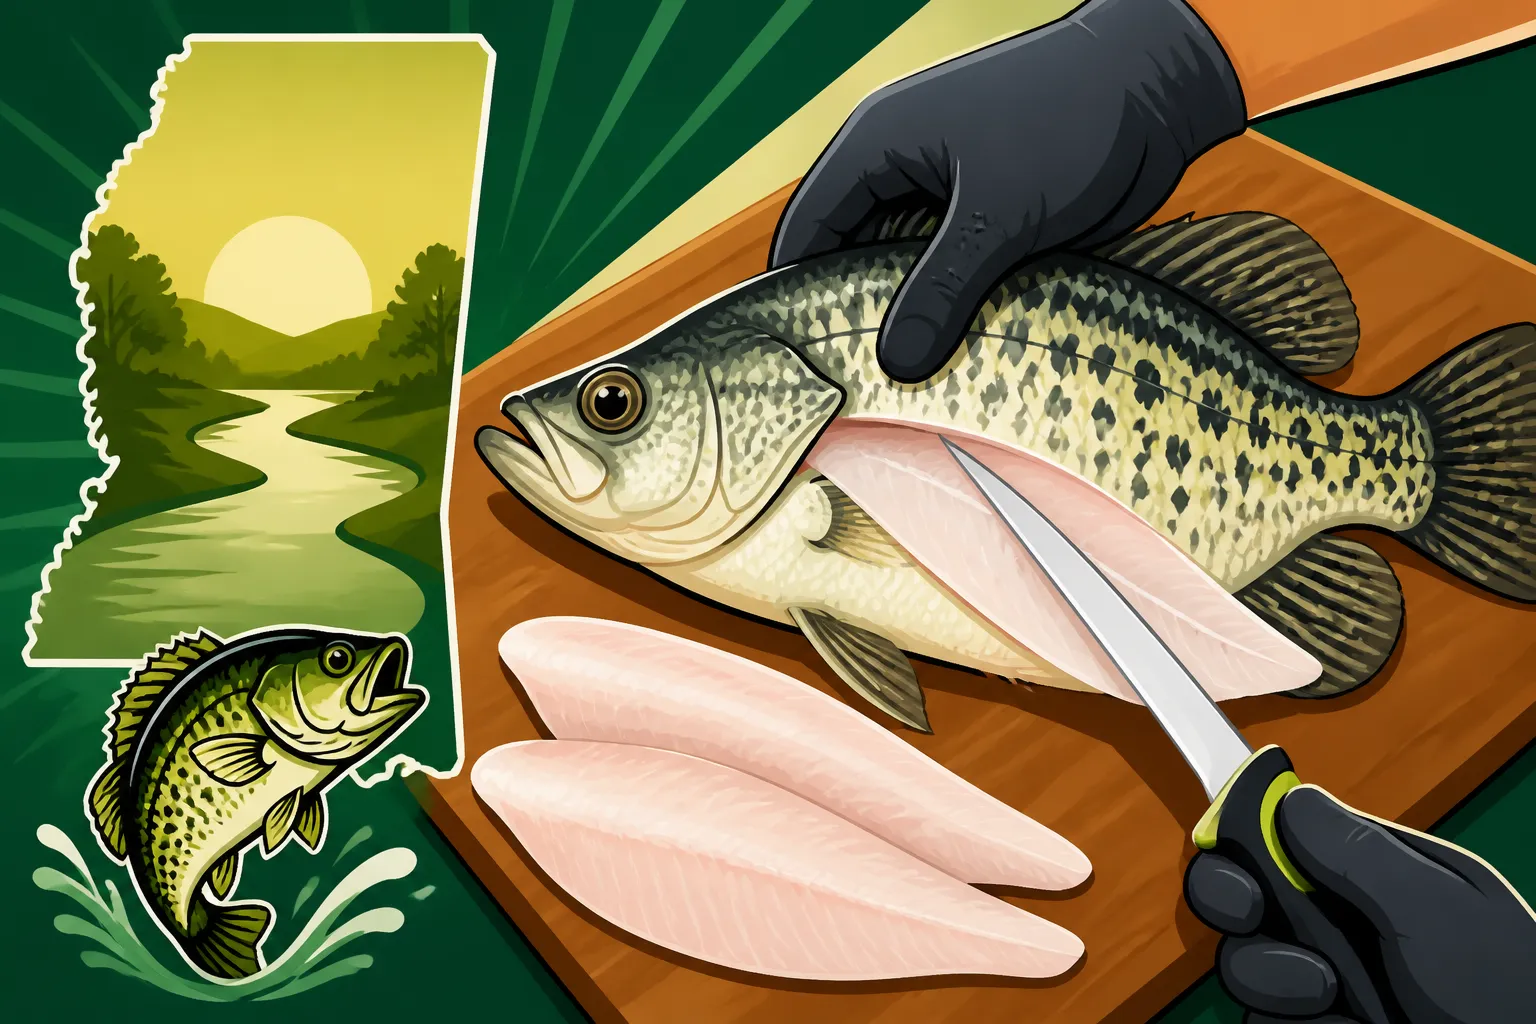
First things first: lay your crappie flat on your cutting board, preferably with the side you want to fillet first facing up. With your sharp fillet knife, make a clean cut behind the crappie's gill plate, angling slightly towards the head. Cut down until you feel the backbone, but don't cut through it. This initial cut is crucial for setting up the rest of your fillet. Many people find it helpful to make a deep score here, almost to the bone.
Next, without cutting through the backbone, turn your knife blade flat and begin to slice along the top of the fish, following the dorsal fin from the initial head cut all the way to the tail. Keep the blade as close to the backbone as possible. You'll feel the bones guiding your knife. This step separates the top portion of the fillet from the backbone. The goal here is to keep the blade flat against the bone structure, ensuring you don't leave much meat behind on the carcass. You'll essentially be creating a "flap" of meat that's still attached to the fish at the tail. This technique is similar to how you would approach filleting a larger fish like a bass.
Navigating the Rib Cage and Removing the Fillet
Once you've made your dorsal slice, gently lift the fillet you've started to separate. Now, carefully work your knife blade down along the backbone towards the tail, using short, controlled strokes. When you reach the rib cage, you have two main options, and this is where many people get hung up. The first, and often easiest for beginners, is to cut over the top of the rib cage. You'll sacrifice a little bit of meat, but it's simpler. The second, and preferred method for maximum yield, is to cut around the rib cage. To do this, angle your knife downwards, following the curve of the ribs.
Once you’ve separated the fillet from the rib cage, continue slicing cleanly towards the tail, completely detaching the fillet from the backbone. You should now have a skin-on, rib-in fillet. At this point, you can also flip the fish over and repeat the entire process on the other side to get your second fillet. Don't worry if your first few fillets aren't perfect; every cut improves your skill. Remember that practice with a sharp knife is key to getting cleaner fillets, just as it is for mastering various Crappie Fishing Techniques for Mississippi Lakes.
Skinning Your Crappie Fillet
With your fillet now detached from the backbone (and hopefully with minimal rib bones still attached, if you chose the 'around' method), it's time to remove the skin. Lay the fillet skin-side down on your cutting board. Make a small cut at the tail end of the fillet, just through the skin, leaving a small tab of skin. Grip this tab firmly with your non-dominant hand.
Now, angle your knife blade slightly downwards, almost parallel to the cutting board, and begin to push the knife forward while pulling the skin backward. Keep the knife blade pressed against the skin, allowing it to peel away from the meat. This requires a smooth, consistent motion. The goal is to leave all the meat on the board and all the skin in your hand. Once you get the hang of it, you’ll find this step surprisingly satisfying. If you're doing a lot of fish, you might also consider the ease of a fish scaler from Amazon before filleting, though it's not strictly necessary if you're skinning.
Tips for Maximizing Yield and Speed
Filleting crappie isn't just about getting a boneless piece of meat; it's also about doing it efficiently and getting as much usable meat as possible from each fish. Every crappie you catch represents an opportunity for a delicious meal, so maximizing your yield is important, especially if you've had a great day hitting the Mississippi Fishing Season Dates and Limits.
Sharpening Your Skills (and Your Knife!)
We talked about the importance of a sharp knife, but it bears repeating: a truly sharp knife is the single biggest factor in successful filleting. A dull knife tears the flesh, makes it harder to cut cleanly around bones, and forces you to use more pressure, which increases the risk of slipping and injury. Take the time to properly sharpen your knife before you start, and have a honing steel nearby to touch up the edge as you go if you're filleting a large batch of fish. A few passes on a steel can bring an edge back to life quickly.
Beyond the knife, sharpening your own skills is crucial. Watch videos of experienced anglers filleting crappie. Pay attention to their grip, their knife angle, and the fluid motion of their cuts. Then, mentally walk through those steps before you make your first cut. You'll notice how they use the bones as guides, minimizing wasted meat. The more you understand the anatomy of the fish and how your knife interacts with it, the more efficient and effective your filleting will become.
Practice Makes Perfect (and Faster)
There's no substitute for hands-on experience. The first crappie you fillet might take you ten minutes, and it might not be the prettiest fillet you've ever seen. That's perfectly okay! Every fish you clean builds muscle memory and hones your technique. Don't get discouraged if you feel clumsy initially. Over time, you'll develop a rhythm and an intuitive feel for the fish's anatomy. You might even discover little tricks or variations that work best for you.
Consider buying an inexpensive batch of fish from a local market, if available, just for practice. Or, if you're a keen angler, use every crappie you catch as an opportunity to refine your skills. The goal isn't just speed, but efficiency and cleanliness. As you become more proficient, you'll be able to fillet a crappie in a minute or two, transforming a pile of fish into perfect fillets in no time. For inspiration on what you're working towards, check out tips for catching Trophy Crappie in Mississippi Waters.
Post-Filleting Care: Rinsing, Storing, and Enjoying
You've done the hard work of catching and filleting your crappie. Now, don't let all that effort go to waste by improper handling! The final steps are critical for ensuring your fillets are clean, fresh, and ready for cooking or long-term storage. This is just as important as knowing the Best Way to Keep Fish Fresh on a Hot Day when you're out on the boat.
Proper Rinsing and Inspection
Once you've removed the skin, give each fillet a quick, thorough rinse under cold running water. This washes away any lingering scales, blood, or stray bits of meat. Be gentle, as crappie fillets are delicate. After rinsing, carefully inspect each fillet for any remaining bones, particularly along what would have been the lateral line (the middle of the fillet) or near where the rib cage was. You might find a few small "pin bones" that can be removed with a pair of clean needle-nose pliers or special fish tweezers. This step is often overlooked but makes a huge difference in the eating experience.
Place the clean, inspected fillets into a bowl of ice water immediately after rinsing. This helps to firm up the flesh and keeps them chilled until you're ready to package them. Allowing fillets to sit out at room temperature, even for a short time, can compromise their quality and freshness. Remember, the goal is a delicious, pleasant meal, and proper handling ensures that.
Packaging for Freshness and Freezing
For immediate consumption within a day or two, simply pat the fillets dry with paper towels, place them in an airtight container or a resealable plastic bag, and refrigerate. The key is to minimize air exposure.
For longer-term storage, freezing is your best bet. The most common and effective method is vacuum sealing. A vacuum sealer removes all air from the package, preventing freezer burn and keeping your fillets fresh for months. If you don't have a vacuum sealer, you can use heavy-duty freezer bags. Place a few fillets in each bag, remove as much air as possible by pressing it out before sealing, and consider adding a small amount of water to create an ice glaze around the fish, which acts as an extra layer of protection against freezer burn. You can find freezer bags and vacuum sealer rolls on Amazon. Don't forget to label each package with the date, so you always know how long it's been in the freezer. Knowing how to properly store your fillets ensures you can enjoy the fruits of your labor long after your trip to the lake.
Disclaimer
This article is for general informational purposes only and does not constitute professional advice. Laws, prices and regulations vary by location and change over time. Consult a qualified professional for guidance on your specific situation.